Ever wonder what happens to your photos from the time our photoshoot ends to when you get the exciting email that your gallery is ready? Read on to learn what’s included in my editing process – from backing up, sorting, editing, retouching, and delivering your photos to you.
Backing Up
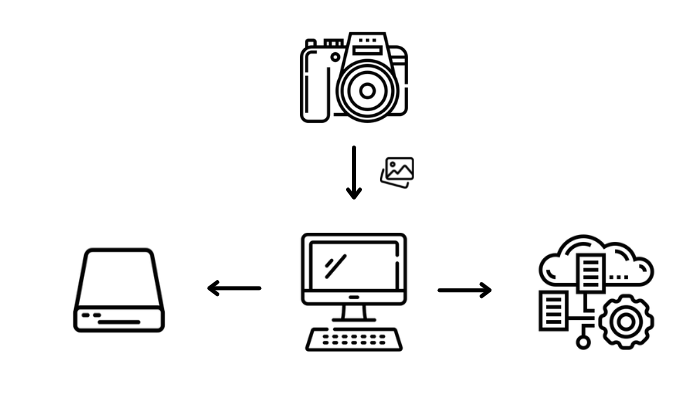
As soon as I get home from a photoshoot, I copy all of the photos from the memory card to two external hard drives. The files are also automatically synced to cloud storage. I make sure to have three complete copies your images in case of a drive failure.
Sorting
Right out of the camera, image files are extra large and uncompressed. These are called “RAW” files. RAW files cannot be viewed or edited without the use of professional software, like Adobe Lightroom and Photoshop. Once the photos are backed up, I use a special viewing software to sort through the hundreds, if not thousands, of RAW image files from a photoshoot.
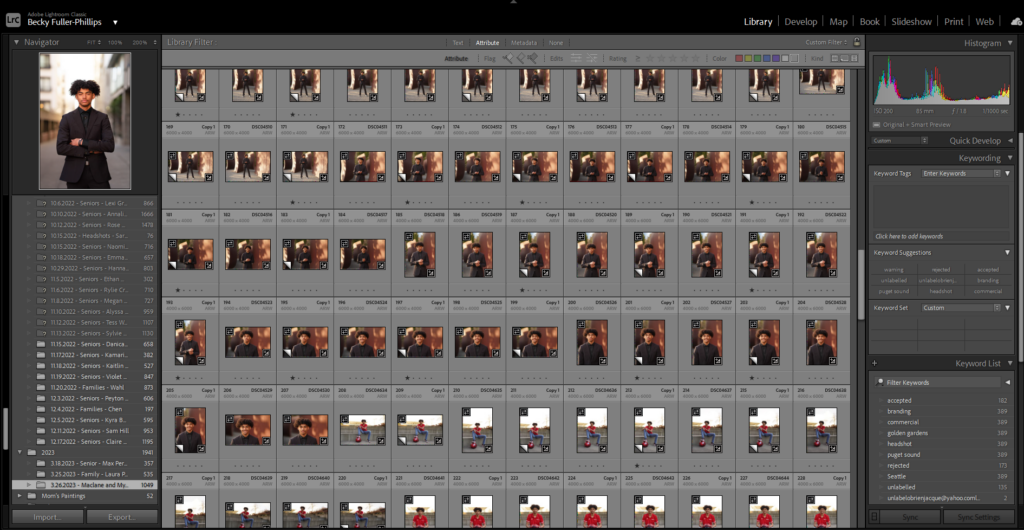
During this sorting process, I’ll first weed out the unwanted photos, like the test shots, the ones where you’re blinking or talking, ones that missed focus, or ones that don’t have ideal lighting. After that, I take a few passes over the remaining photos and narrow the gallery down to the very best images. I prioritize selecting photos that have the best facial expressions, poses, composition, and lighting.
Editing
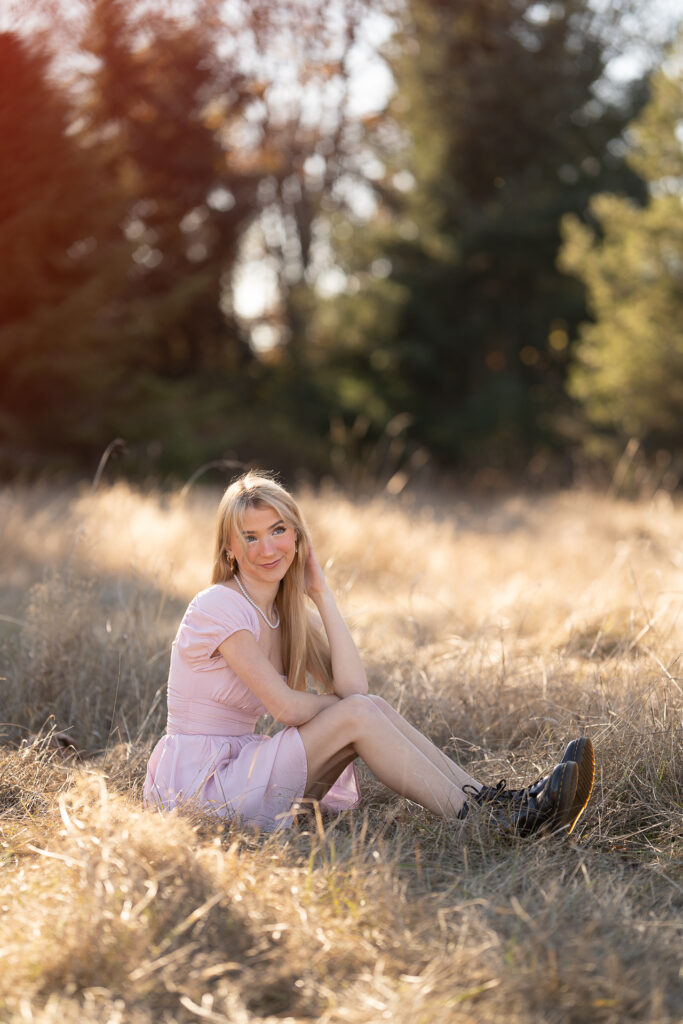
After I’ve narrowed it down to the very best photos, I’ll start the editing process in Adobe Lightroom. It’s important to note that RAW, unedited files are the starting point, not the final product, and will likely appear flat or dull without editing.
All photographers have a unique approach to editing. When you’re looking for a photographer, be sure to check out their portfolio and make sure you like their editing style before booking with them. If you don’t like how the colors look, think the photos are too dark or bright, or think the skin retouching is overly done or not done well enough, keep looking until you find a photographer whose style you love.
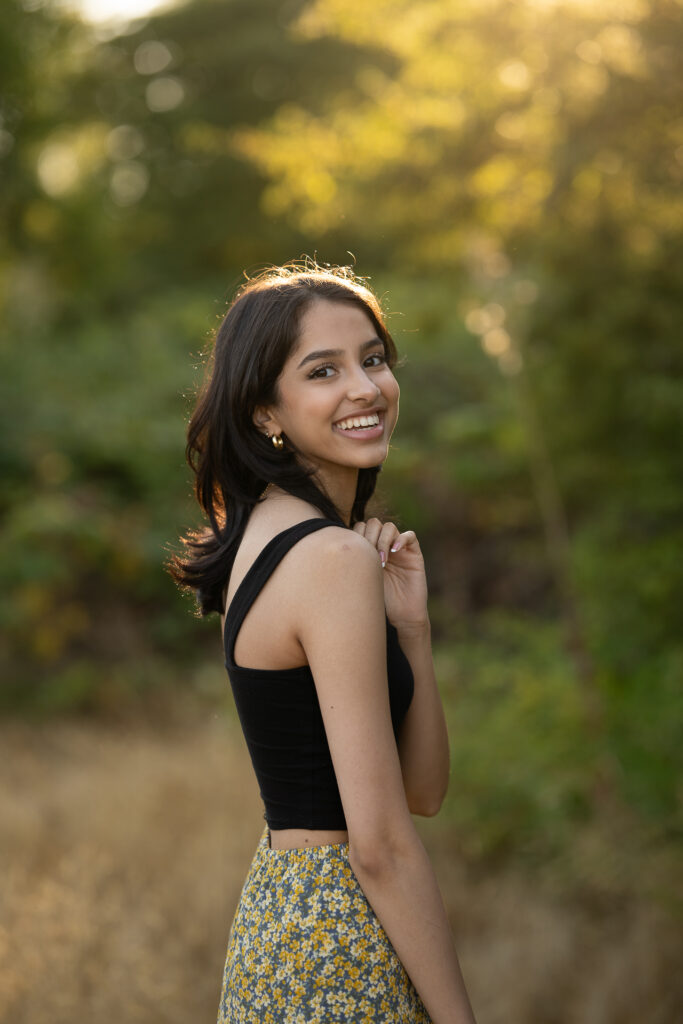
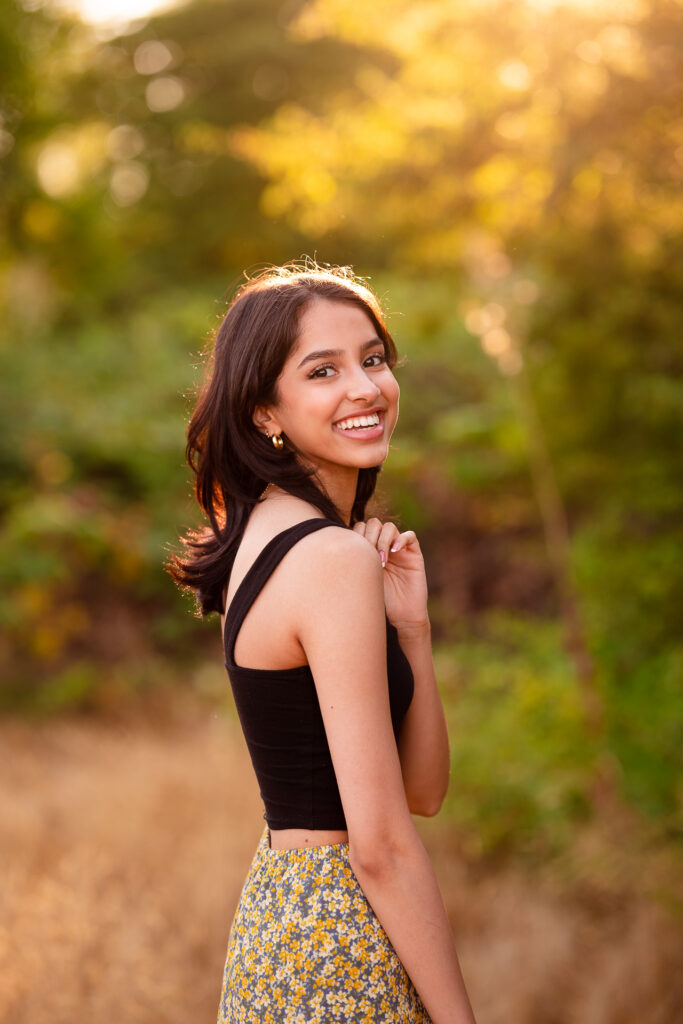
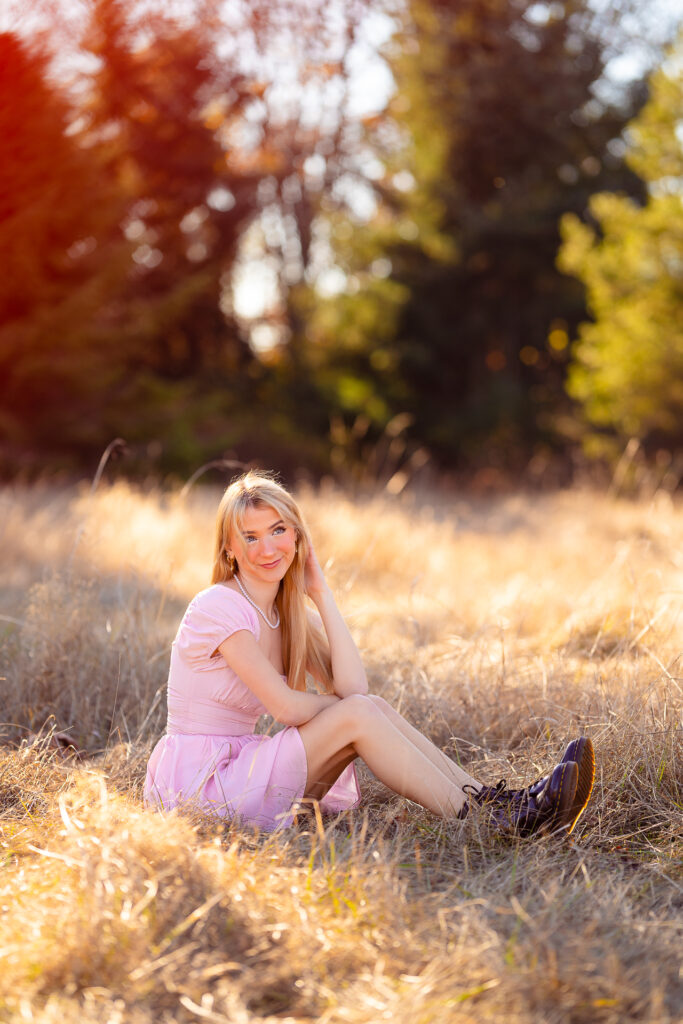
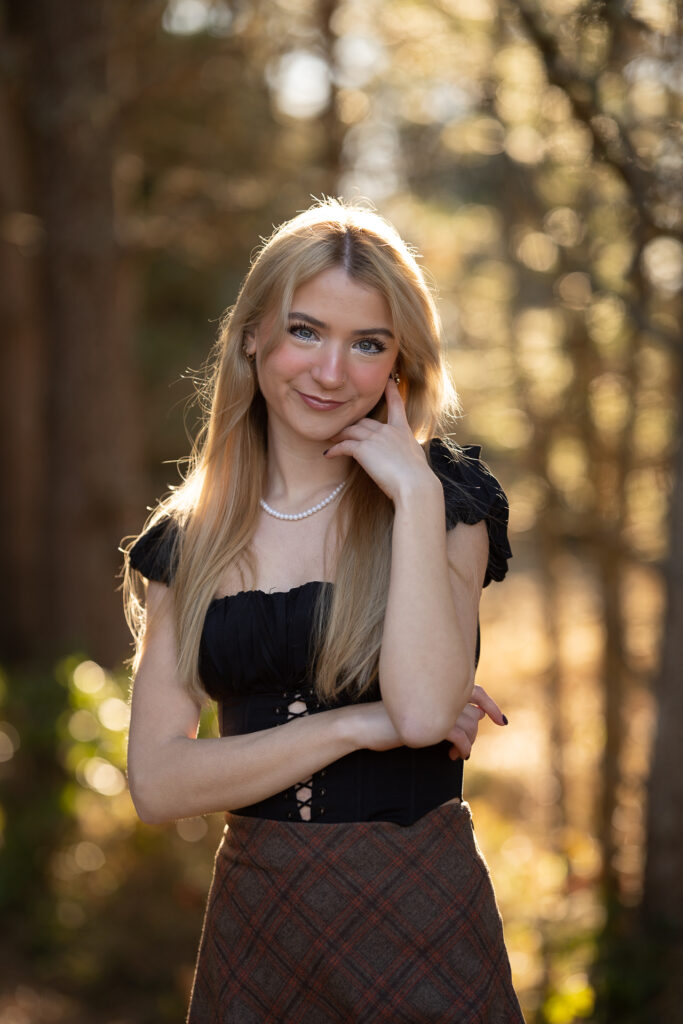
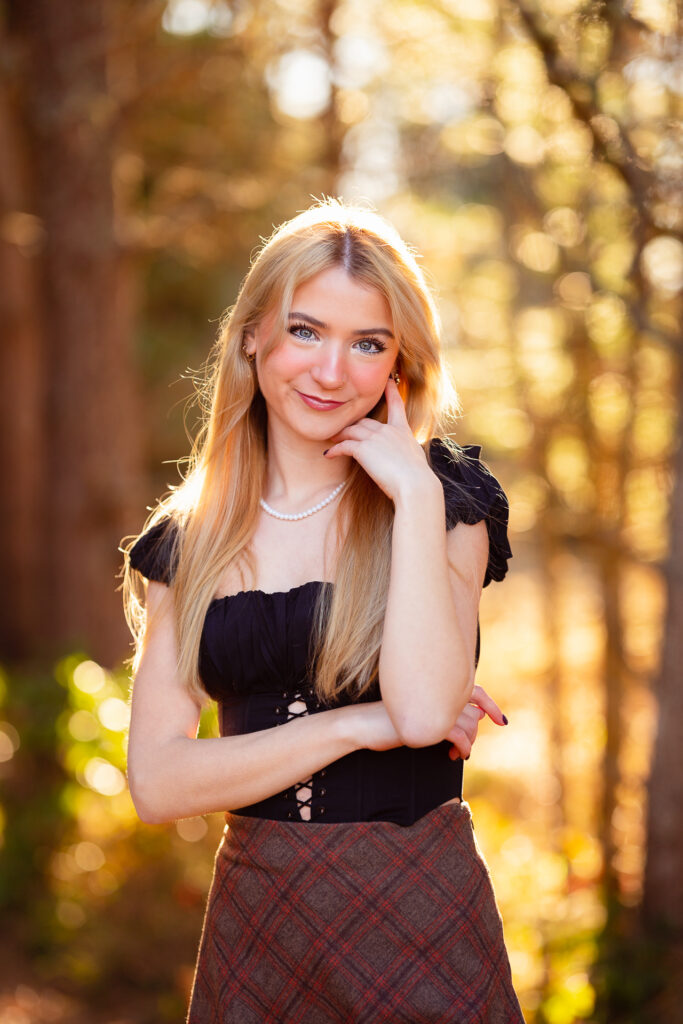
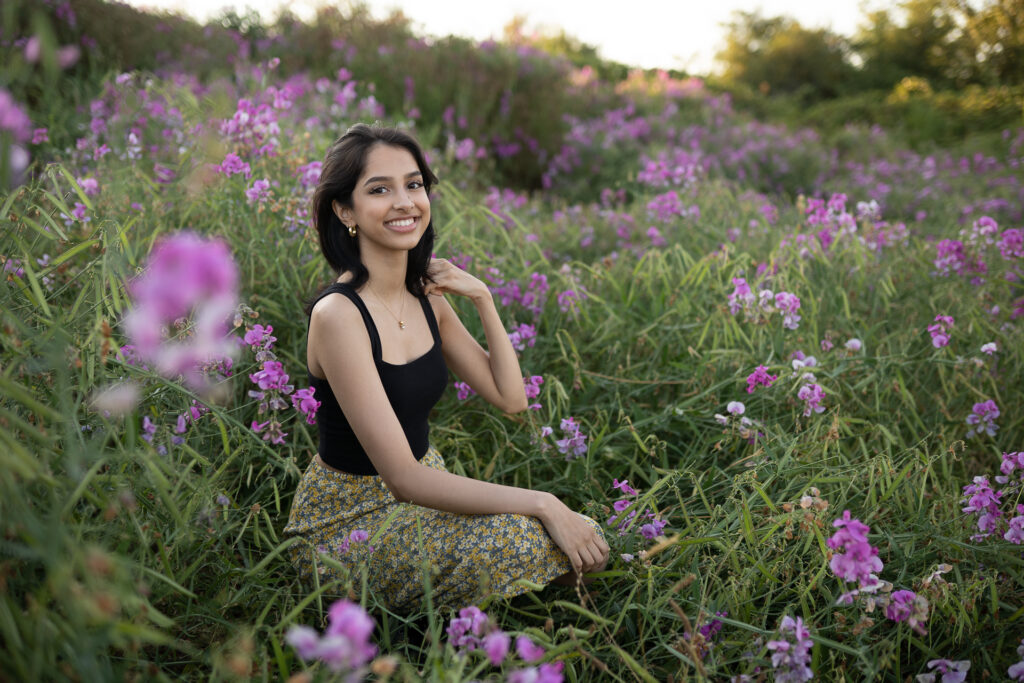
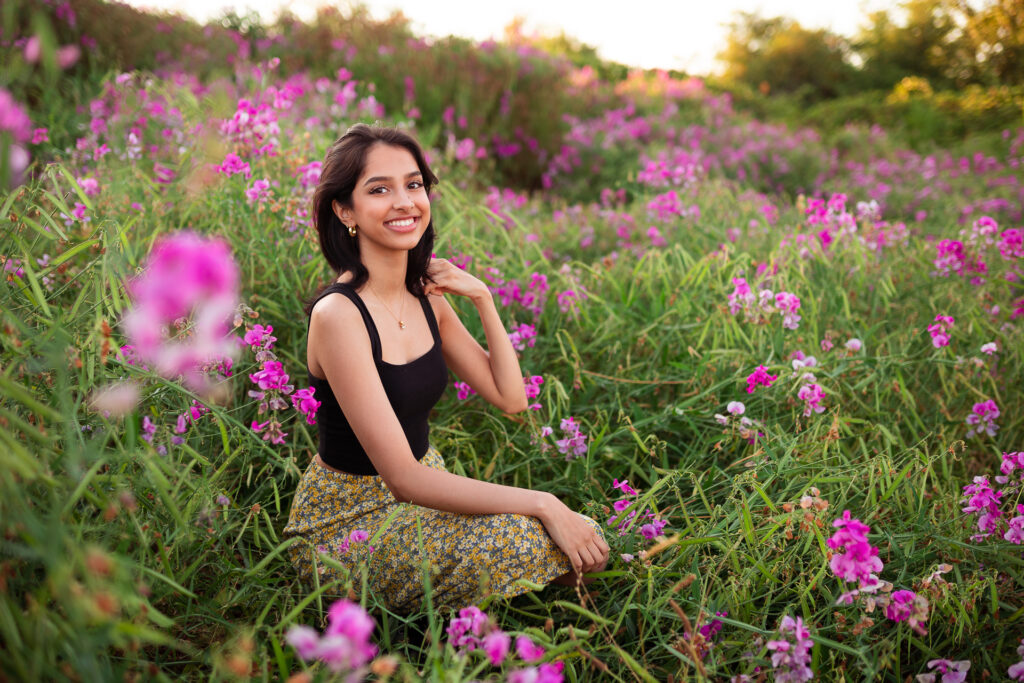
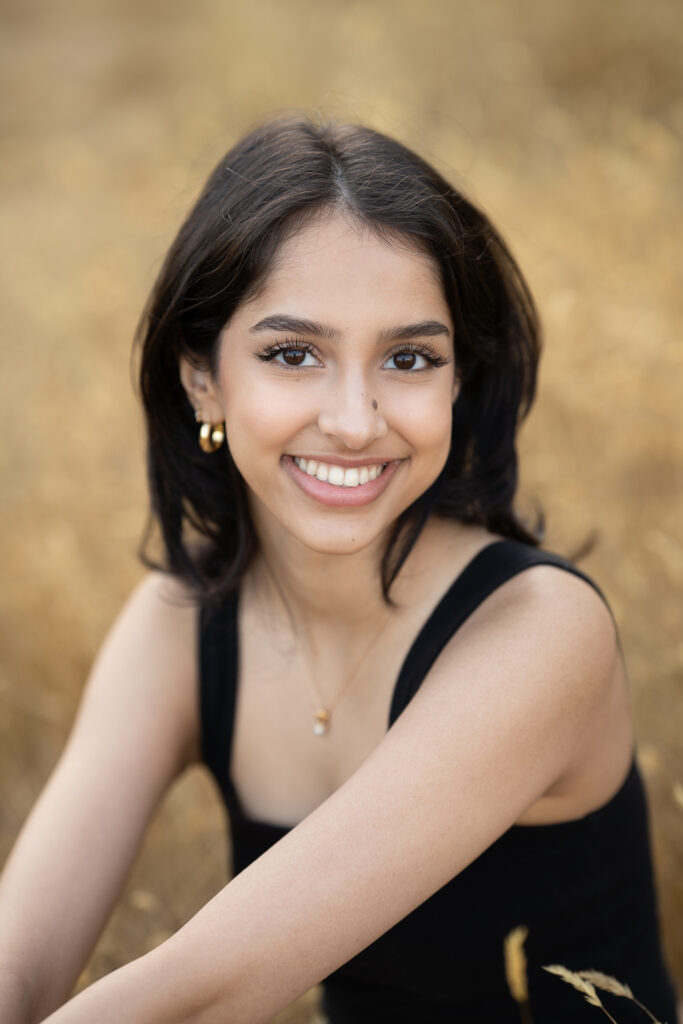
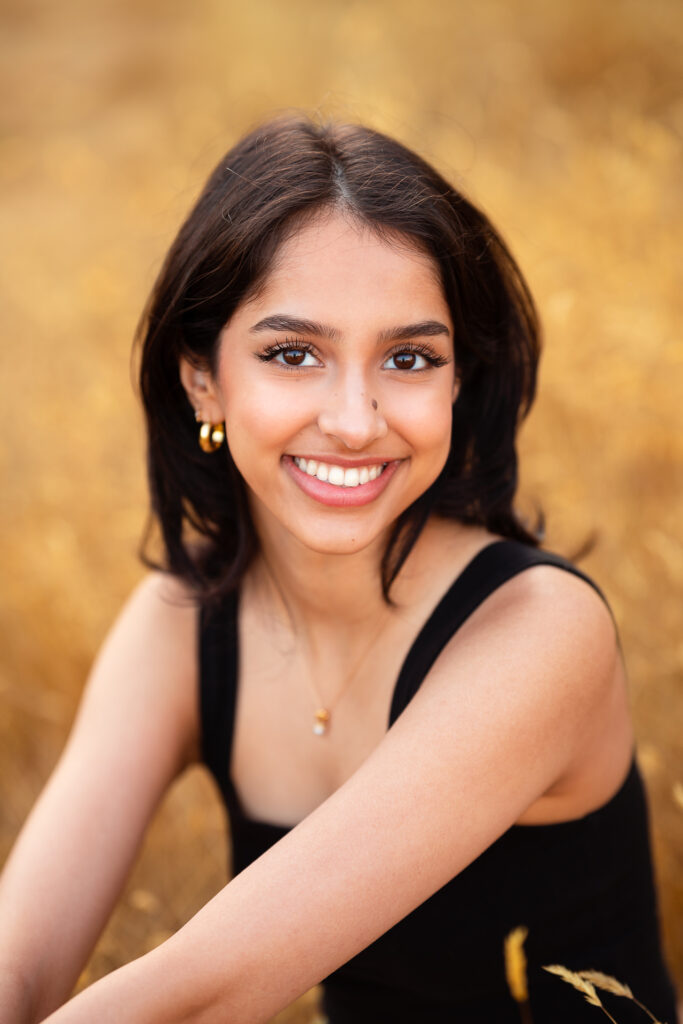
My editing style emphasizes vibrant, warm, and true-to-life colors with realistic and natural retouching. When I am shooting, I aim to get everything looking as good as possible in-camera to avoid leaning on editing to compensate. Feel free to check out my portfolio or my Instagram to see more of my work.
Here are the adjustments I make to every image:
- Cropping: I’ll crop a photo to straighten the horizon and/or vertical lines, and to draw attention to the subject. I won’t crop an image if it doesn’t need it.
- White Balance: The white balance refers to the coolness or warmth of an image. This is something I always aim to get correct when shooting, but I’ll usually make slight adjustments in editing to bring out the warmth in photos, which I think looks great with skin tones.
- Exposure: The exposure refers to the overall brightness or darkness of an image. My primary focus with exposure adjustments is ensuring the subject’s skin tone is properly lit.
- Contrast: Adding contrast to an image can make the image less flat and more visually appealing. I make custom contrast settings for every photo to add a nice ‘pop’ while retaining detail and keeping the photo from looking overly edited.
- Sharpening: I’ll only deliver the photos that are in focus, but I always add a little extra sharpening so the photos are perfectly crisp.
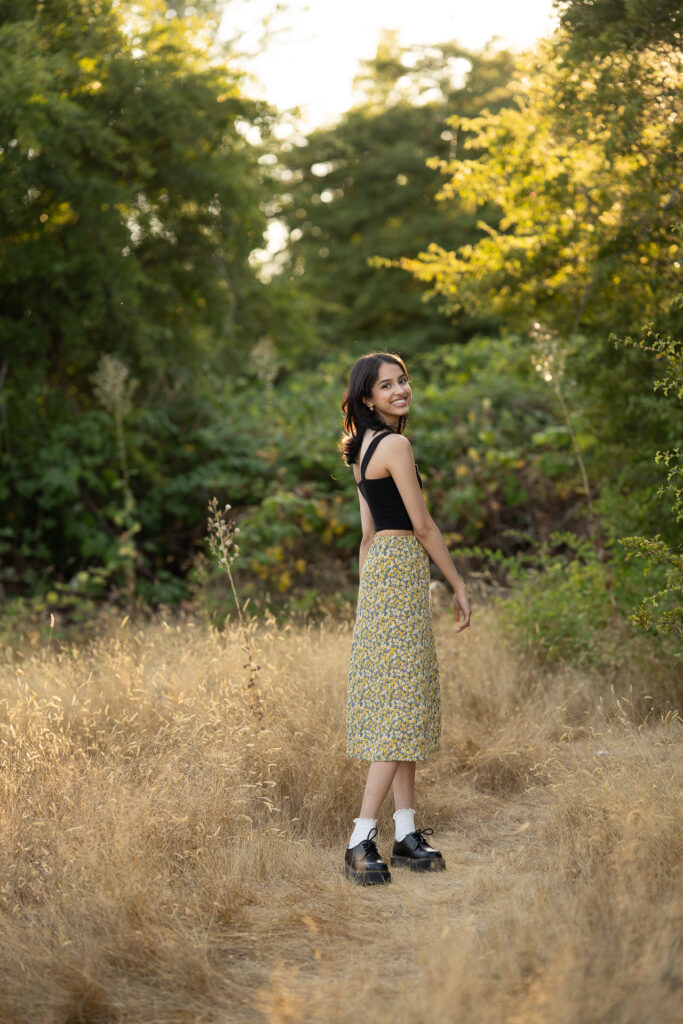
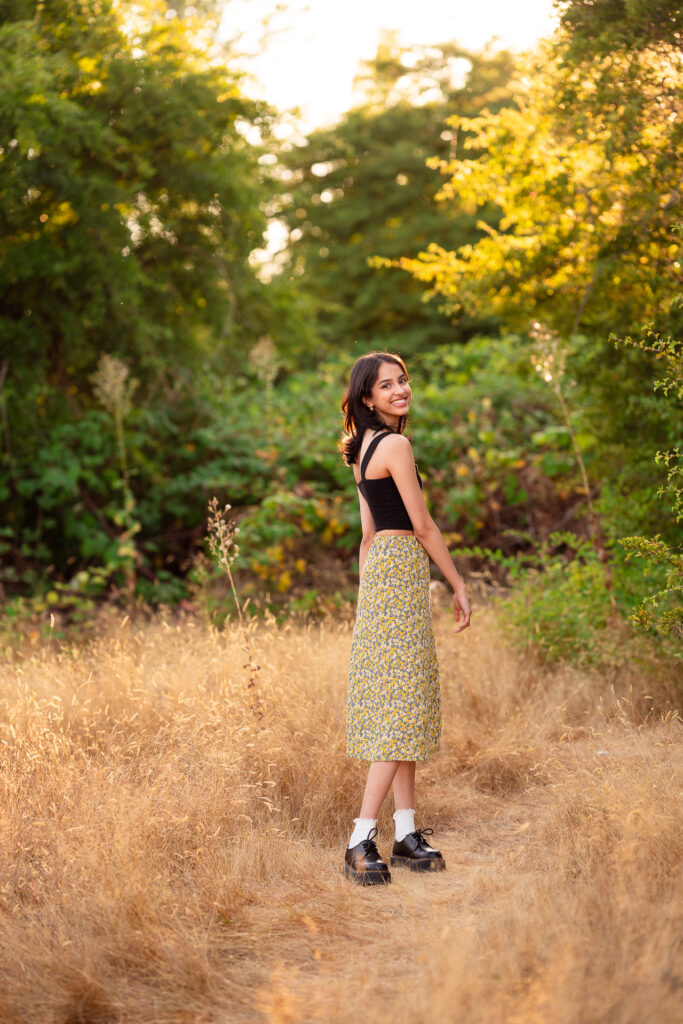
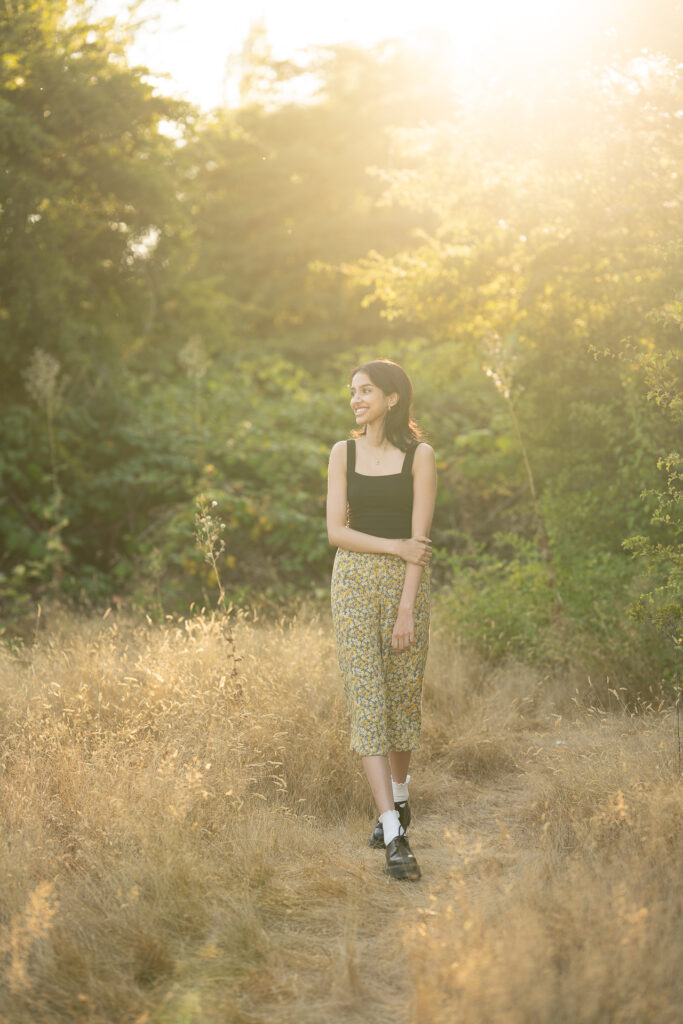
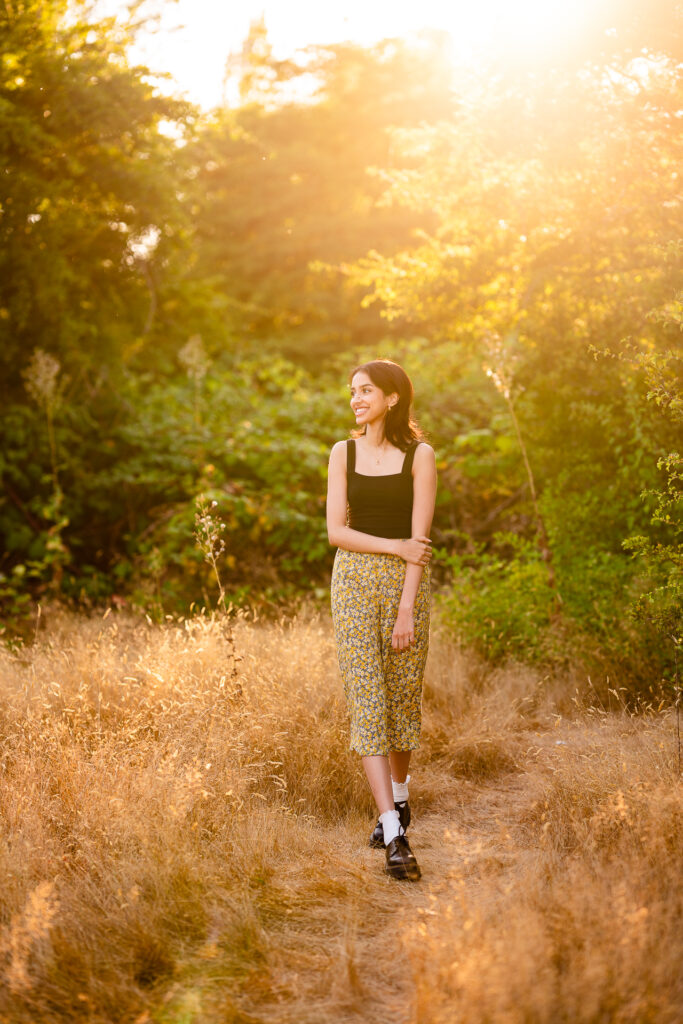
- Color Correction, Calibration, and Grading: Color is the main way I bring in a lot of my personal style into editing. First, I’ll adjust colors to ensure skin tones are accurate. Then, I’ll use color to add contrast and artistic tones to my images. This could include adding a little extra golden glow to a photo taken at sunset, making the Puget Sound a more vibrant blue, or desaturating a background color that is distracting from the subject.
- Distraction Removal: Sometimes when I’m behind the camera, I miss spotting a piece of trash on the ground or group of people in the distance until after I see the photo on the big screen. Not a problem! If it’s something that isn’t supposed to be there and is distracting to look at, I’ll remove it.
I spend time on each image making these adjustments so they look the very best. I’ll also ensure that all of my edits for a photoshoot are consistent and uniform. Every image and lighting situation is unique, so some images require more attention than others.
Retouching
The final step in my editing process is retouching.
Things I retouch:
- Skin (Blemishes/Acne): Blemishes come and go, so I’ll make sure to remove them for you! To keep things looking natural, I have a few tricks up my sleeve to keep the natural detail and texture of your skin after removing acne.
- Stray Hairs: This could be a hair over your face or one that’s blowing away in the wind. I’ll remove it it’s distracting from the image.
- Brightening Eyes: I usually brighten the catch lights of eyes to bring more attention to the subject of the image and add a little pop!
- Teeth Whitening: Sometimes the lighting of a photo casts shadows on teeth, so I’ll do some brightening and whitening to compensate.
Things I won’t retouch unless you ask me:
- Bruises and Scars: I’ll leave these alone by default, but if you want them removed just let me know.
Things I don’t retouch:
- Body or Face Shape
- Eye or Hair color
- Braces
- The appearance of clothing (unless it is easily doable)
- Anything that drastically changes your appearance
Your images should celebrate and look like you! That’s why I retouch naturally. If there are certain things you want retouched in your images, just let me know.
After I’ve finished editing and retouching your photos, I’ll export them all with the proper file format and size, and upload them to your online gallery. From your online gallery you can download, print, and share your images.
